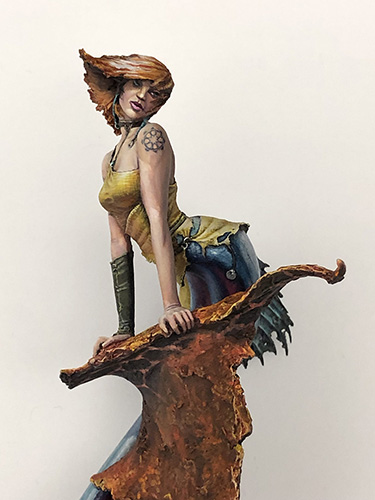
I’ve wanted to paint the Origen Art Siren for ages, but getting my hands on the figure itself proved a challenge. How I hate limited edition figures!
One of my goals with this figure was to achieve a really realistic water effect on the base. Since I’d never done anything like this before, I knew this would involve a fair bit of trial-and-error. I looked for water tutorials online, and while I found several on YouTube and elsewhere, none had quite the look I was going for. To get the result I wanted, I felt that two things would be critical: the transparency, and the shape of the waves. All of the tutorials I found failed on one account or the other. Some had you sculpting waves out of an opaque material and varnishing them, which lets you get the shape right but not the transparency. Others involved sculpting with layers of thick gloss gel over the flat surface of a resin pour, which gives the right transparency but not a realistic shape.
Instead, I chose to follow an approach which was not in any of the online tutorials I found, but which must be something like the way Robert Blaha did the water for Frutti di Mare. My approach was to first sculpt the waves out of Kneadatite putty, use that sculpt as a master to make a mold, and finally make a cast using clear resin. Since I was using a technique that was totally new to me, and working without a tutorial, I knew it would take a few tries to get the effect I wanted.
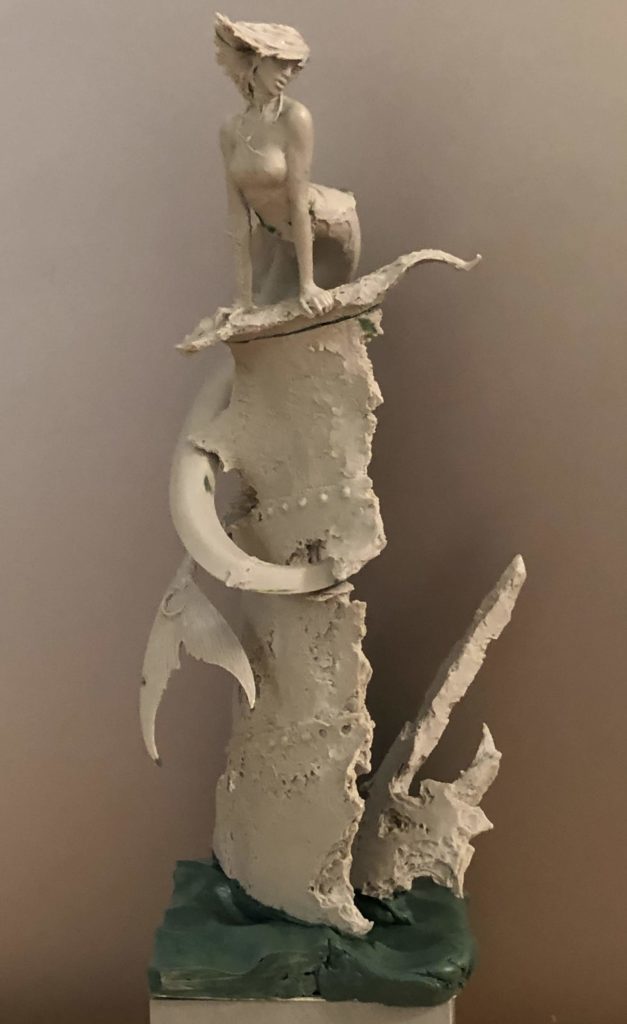
The sculpt of the wave forms was fairly simple. I made sure to look at examples, keep it from being too regular or symmetric, and sculpt more than I needed in each direction so I could cut it down to the size I wanted. In addition to sculpting the water’s surface, I also sculpted a bit of the rusted iron shipwreck to mate with the pieces that came with the figure. I decided against casting those figures into the block, since I wasn’t expecting to get things right with the first attempt.
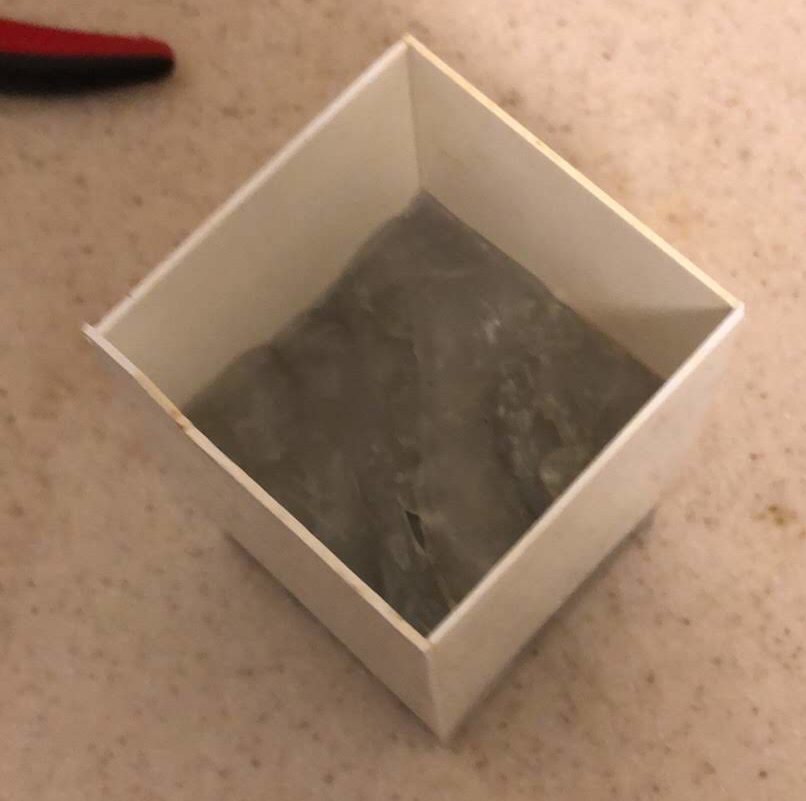
To cast the water, I took the easy way by using instant mold. Instant mold is great for ease of use, but doesn’t produce a very accurate cast, and doesn’t work at all if you need more than a one-sided mold. For the water, neither of those drawbacks mattered. I used plastic card for the sides of the water, cut to rectangles of the right width to slightly overlap each other, and forced the instant mold down as hard as I could to fill all the recesses, using a second resin cube as a plunger.
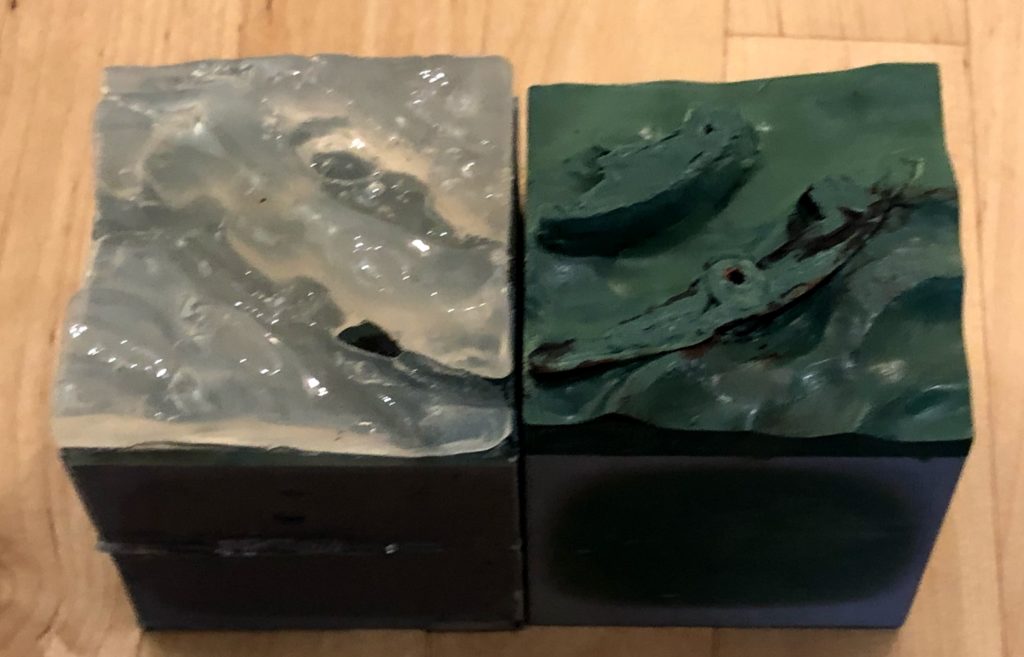
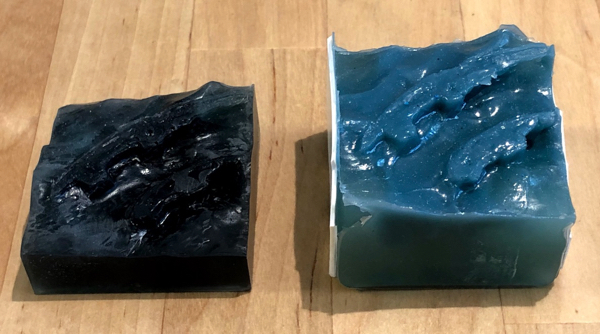
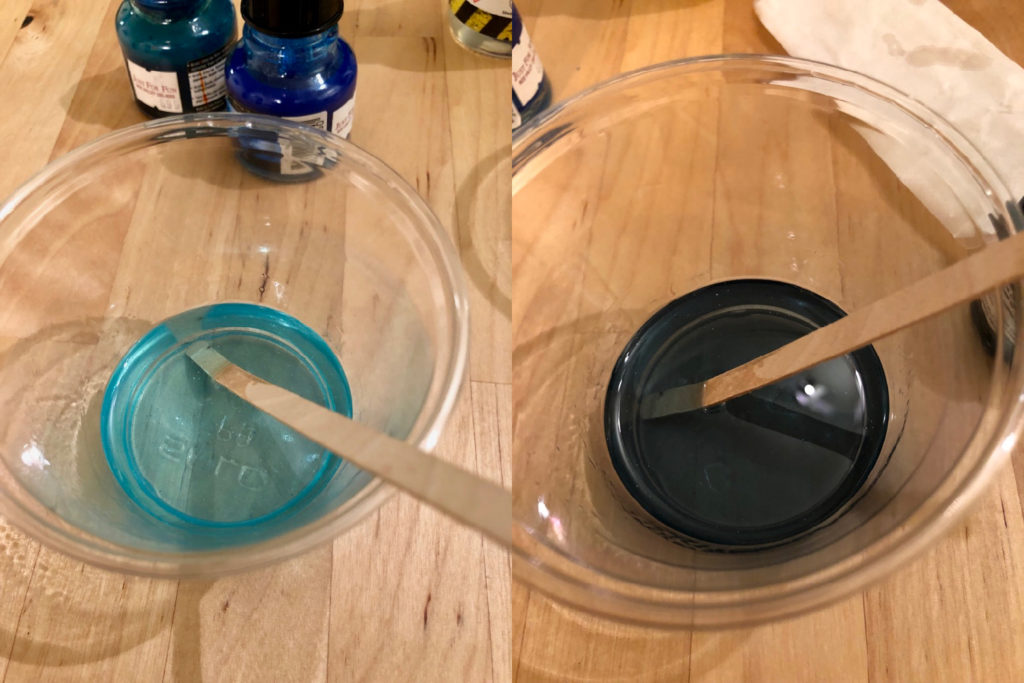
In the end, it took me three attempts to get the water looking right. In all three casts, to get some color variation in the final result, I mixed up resin in two separate cups, colored them differently, and mixed them together in the mold. In the first attempt, for the darker resin, I used a mixture of process cyan and payne’s gray inks from Daler Rowney, and for the lighter I used a mixture of process cyan and dark green inks, with a drop of white acrylic paint.
This one had three issues: it was too dark, it was too thin, and it had flecks from the white paint I used. For my second attempt, I tried oil paints instead of acrylics in the hopes that resin would mix better with an oil-based material than a water-based one, but actually it was even worse.
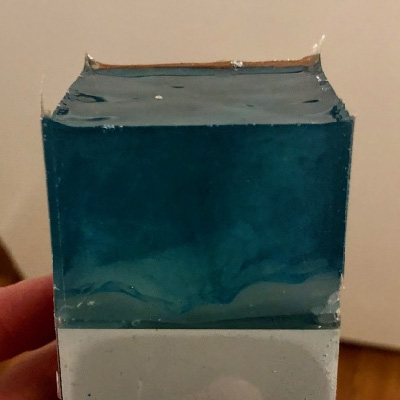
So for the third attempt, I left out the white entirely, skipped the payne’s gray, and just went really easy on the inks to maintain a lot of the transparency of the plain resin. This proved to be the right approach, and I was very happy with the third pour.
My one challenge at this point was how to manufacture the submerged part of the shipwreck. The obvious way to do it would be to sculpt and paint it ahead of time, and do a fourth the resin pour around it, now that I had figured out how to get the resin pour to work correctly. But I figured, I have a successful resin pour, so I might as well use it if I can. So I decided I would try to hollow out the right shape with a dremel tool, and fall back on the other approach if that didn’t work.
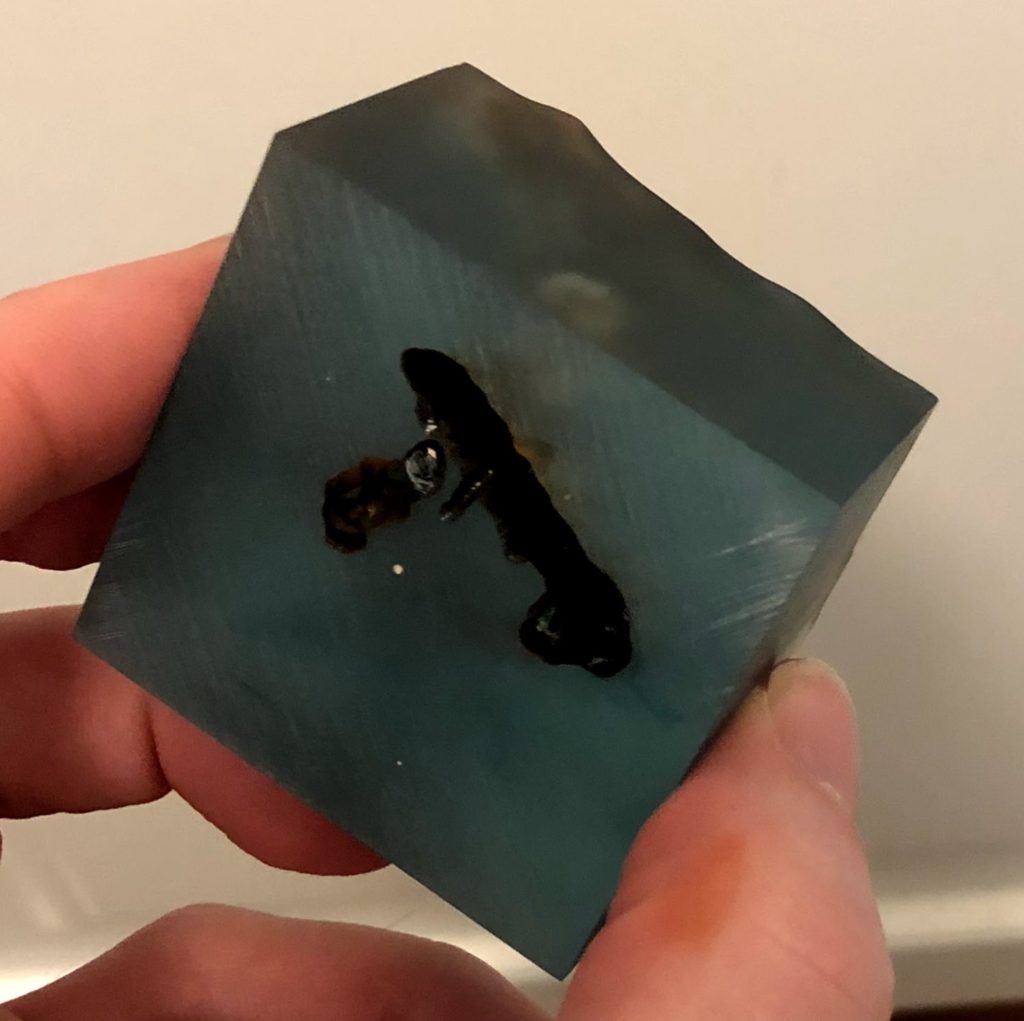
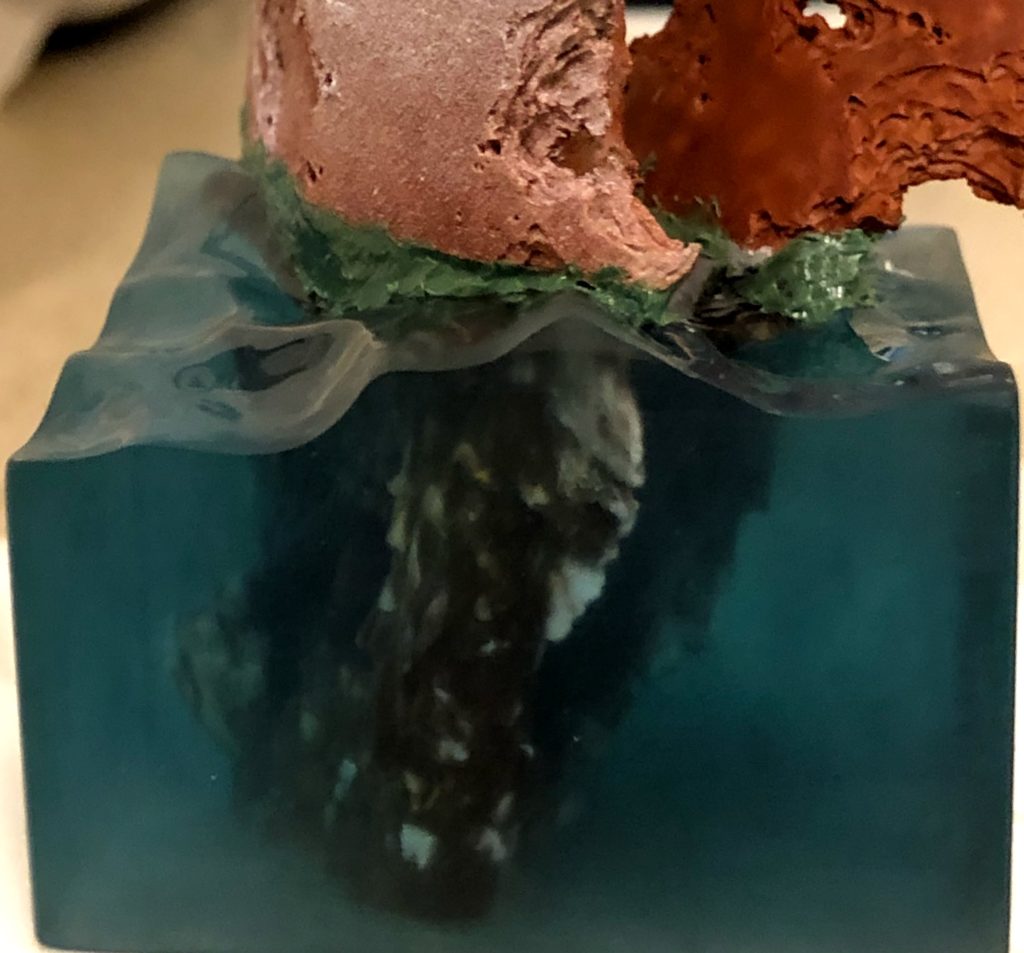
In the end, the dremel approach worked quite well. I tried to make the shape really random and disguise the shape of the tool I used, and it mostly worked. Once the shape was hollowed out, I shoved a bunch of different rust-colored paints inside the hollowed-out volume, using lots and lots of paint and a large crappy brush I was not afraid to abuse. Then, to give a solid anchor for the rest of the shipwreck, I filled in the hole (using a kneadatite brown in case any of it showed through the resin), before mounting the rest of the shipwreck above the water using a nice thick brass rod pin. Finally I hid the join and matched the surface texture of the shipwreck with putty.

To prevent one of the disasters of the second pour, where I couldn’t even get the water free of the plastic card mold sides, I used clear shipping tape to cover the plastic of the mold. This worked well to make the walls of the mold release the resin, but the packing tape wasn’t quite flat and it showed in the cast. I wanted the resin sides to be perfectly smooth, so I had to sand them down to remove the imperfections. I then used finer and finer grits of sandpaper, down to 2000 grit, followed by polishing compound to get the sides as smooth and shiny as possible. I couldn’t completely remove all of the sanding lines, so I made sure to do my final round of sanding (with the 2000 grit sandpaper) against a metal ruler to keep all of the lines horizontal.
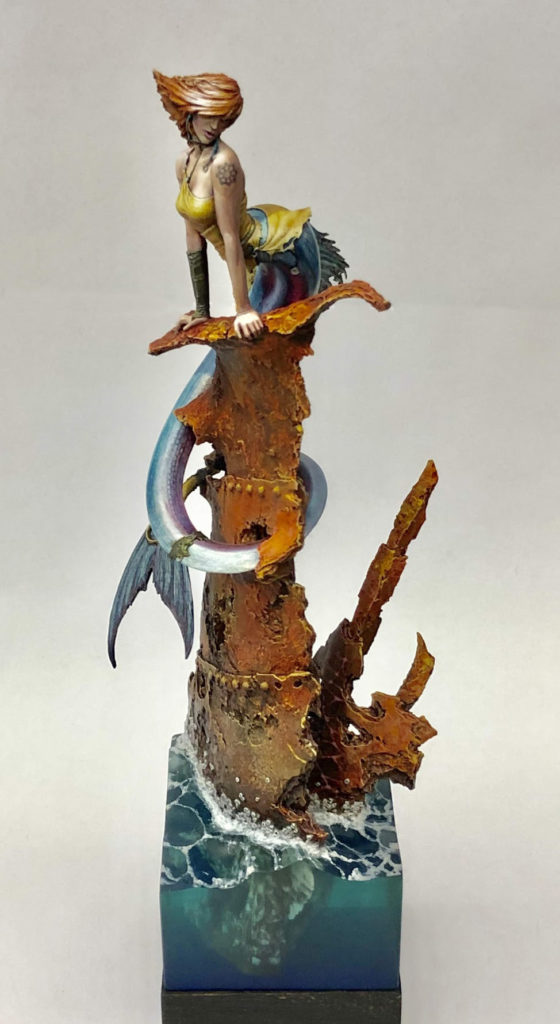
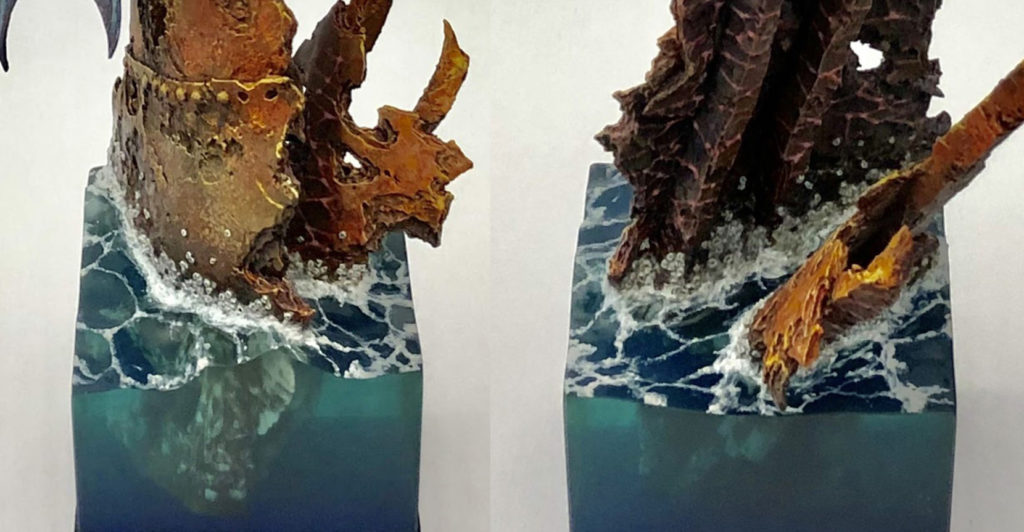
The final step to complete the look of the water was to finish the surface. For this, I used a mixture of white paint, gloss gel medium, and snow effects, painted onto the water’s surface to match reference photos I found online. This was a relatively quick and easy step compared to the rest.
I’m really happy with the effect I was able to get through this approach. Eventually I may write a tutorial with a more step-by-step explanation, but sometimes it’s more interesting to read about the process of figuring things out.
Very intense work!
Thanks!
Love it
I love your tutorials! They read like science experiments discursive artistic principles.
You’re adding a lot of creativity to the hobby! Thank you!
Is there any where to purchase this figure still? Thanks
Not that I know of. It was a limited edition of 400 which has long sold out, and the company that made it, Origen, is defunct. I think Black Sun did pick up and produce some of the old Origen sculpts (including Abdel Rashid and others by Pedro Ramos), but his piece Siren isn’t one of those and isn’t for sale anywhere that I know about. Disappointing, I know!