Today’s post is something different, a bit mini-painting-blog-meets-lifehacker. I’ve noticed that a lot of the knowledge I’ve accumulated through my hobby is useful outside the world of miniatures. Knowing how to attach small bits of metal or plastic to each other securely is quite a handy skill in today’s world of cheap electronic gadgets. If you’ve ever repaired a computer peripheral by finding the broken piece of plastic and pinning it back together, you know where I’m coming from. If not, hopefully next time one of your gadgets breaks, you will take a quick look to see whether you can fix it before adding to the world’s growing supply of e-waste.
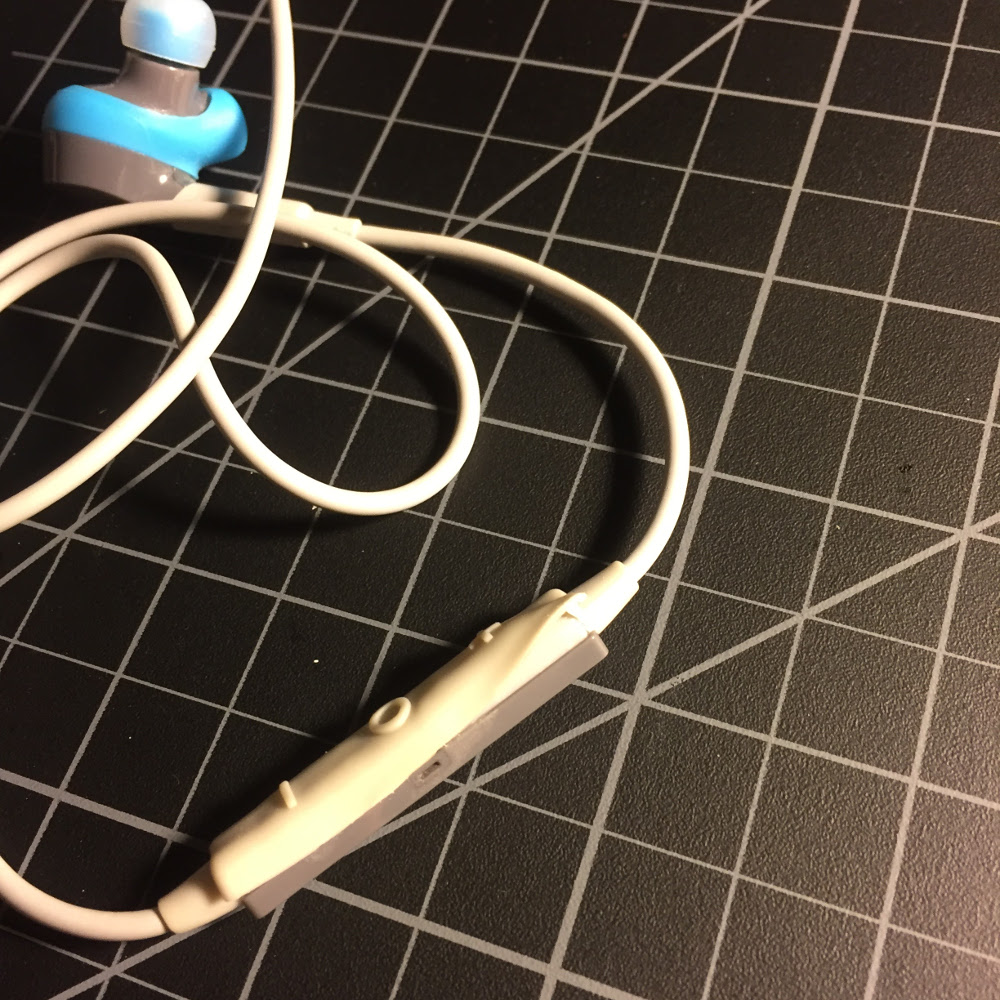
I’ve done this with a number of different devices, but the inspiration for this post was a pair of wireless headphones, which refused to turn on just past the end of their one-year warranty (funny how often that happens…) The last time I tried turning them on, I felt something a bit funny happen, which clued me in that the problem was likely mechanical, not electronic. That was lucky, as mechanical issues with electronics are much easier to figure out and fix than electronic problems. The first thing I did was open up the problematic part to see what was going on. Unfortunately, as these headphones were never meant to be open, that involved tearing some rubber, but I tried to do this in a controlled way that I would be able to repair later. Yes, this will void your warrantee. But if I had a valid warrantee, I never would have needed to get into this in the first place!
As I suspected, the problem was indeed a simple mechanical one. There are three plastic levers which contact the buttons for power and volume, and the plastic lever for the power button had broken off.
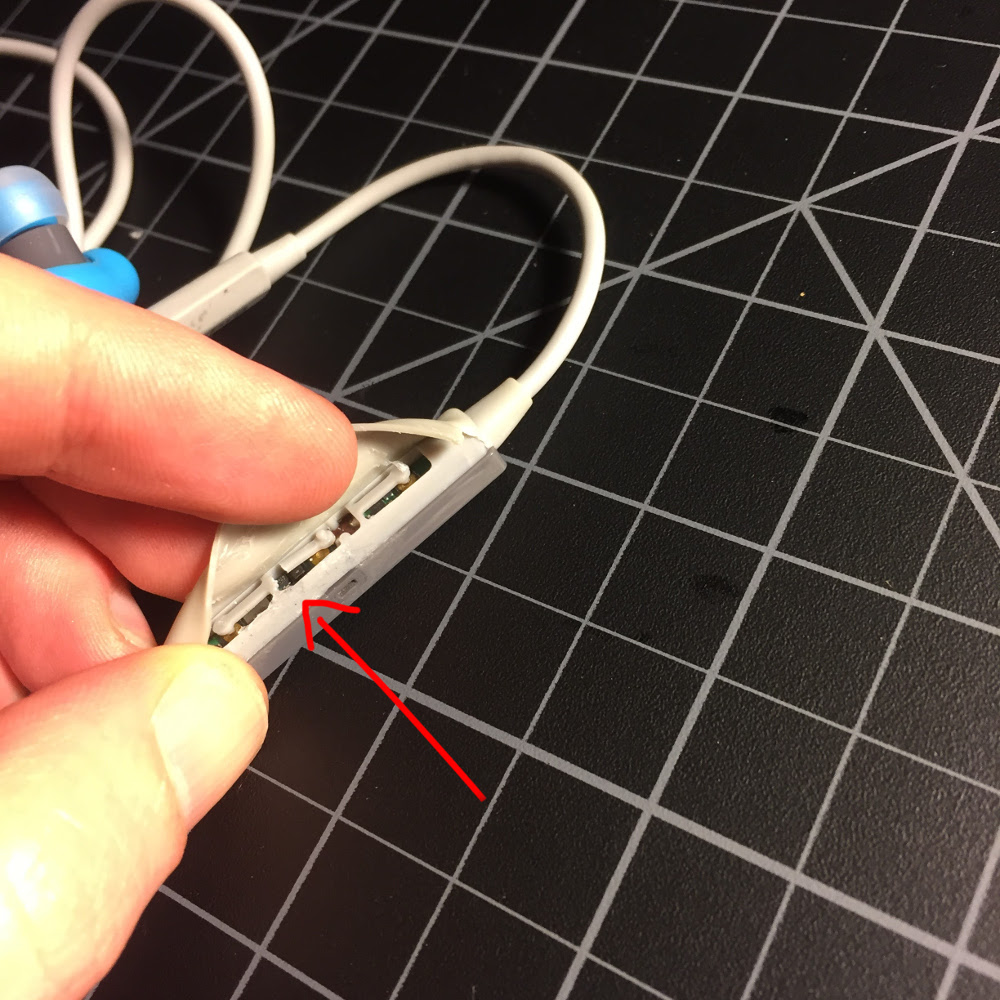
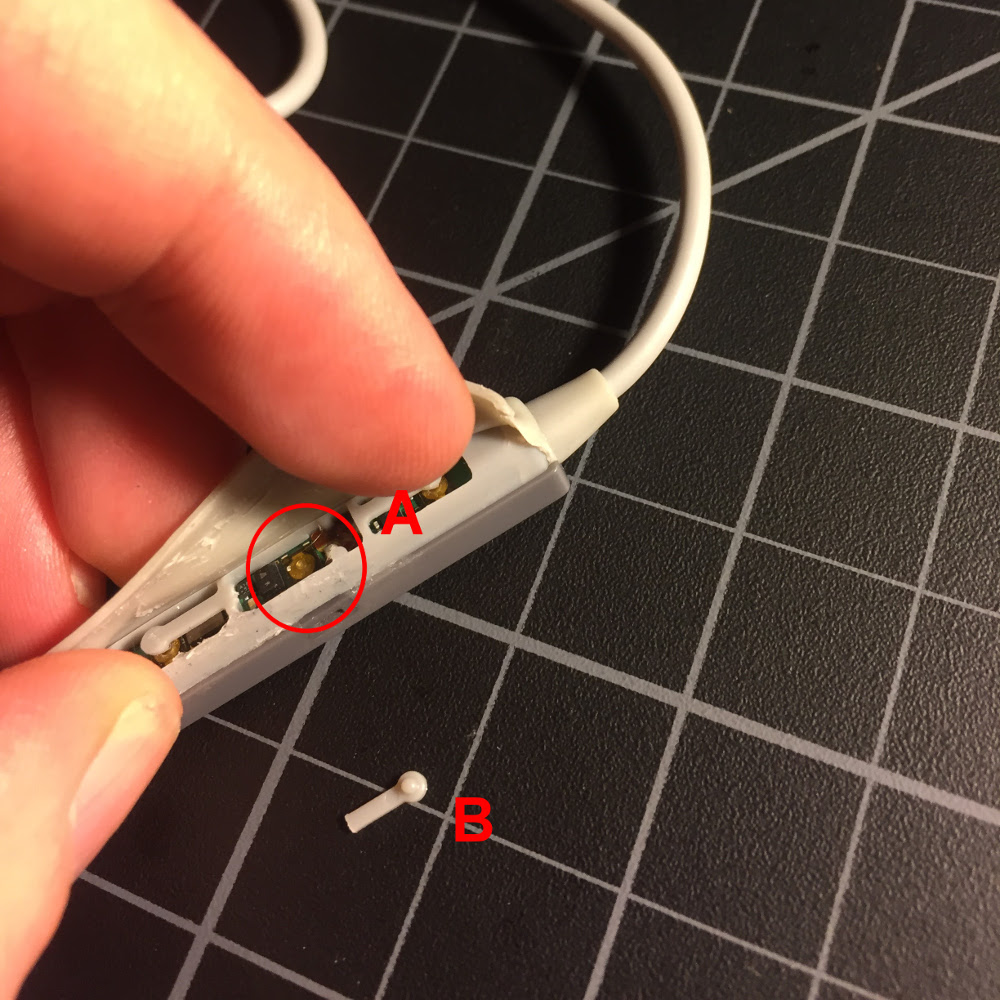
There is a small button (A) attached to the circuit board, which is meant to be pressed by the plastic lever (B) when the power button is pressed on the outside of the rubber sleeve. However, a year of pressing and holding the power button to turn the device on and off had fatigued the plastic to the point where it broke off.
When a broken piece of rigid plastic is the only thing keeping a gadget from functioning properly, repair is easy (for the miniature hobbyist). Joining small bits of plastic together securely is our specialty, and simply pinning the parts together is usually all it takes. For example, when I had a mouse with a broken scroll wheel, I was able to repair it this way by disassembling it, pinning the scroll wheel back together, and reassembling it. I have done similar repairs to other computer mice and a home alarm system remote, as well as any number of more cosmetic repairs for chipped paint on christmas ornaments, eyeglasses, and the like.
Things get a bit more challenging if the broken part is particularly tiny, or needs to flex properly for the device to function. In this case, the part was tiny and needed to flex, so simply repairing the broken piece of plastic wasn’t going to work, and I would need to improvise a new mechanism. However, the job of the piece of plastic was very simple – it just needed to conduct force from a finger pressing on the button outside the sleeve to the electronic button inside. So devising and implementing an alternative mechanism was equally simple.
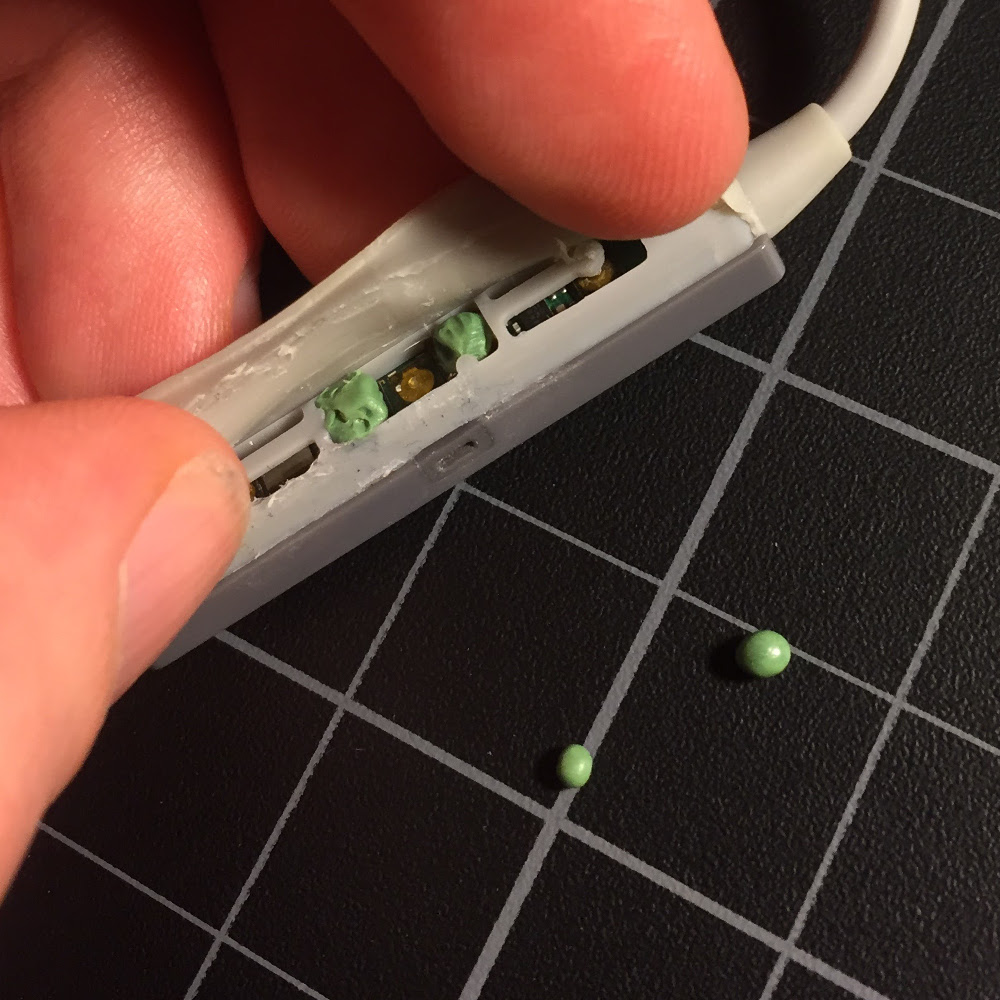
The solution I devised was a small puck (made out of two-part epoxy putty) that would be pressed into the electronic button when I pressed the power button. It could be free-floating inside the mechanism, held in place by the rubber housing. I also added some more two-part putty on either side to act as a guide, keeping the puck from drifting out of position. I wasn’t sure exactly what size and shape of puck would work best, so I made several, and gave them a full day to harden before trying them out.
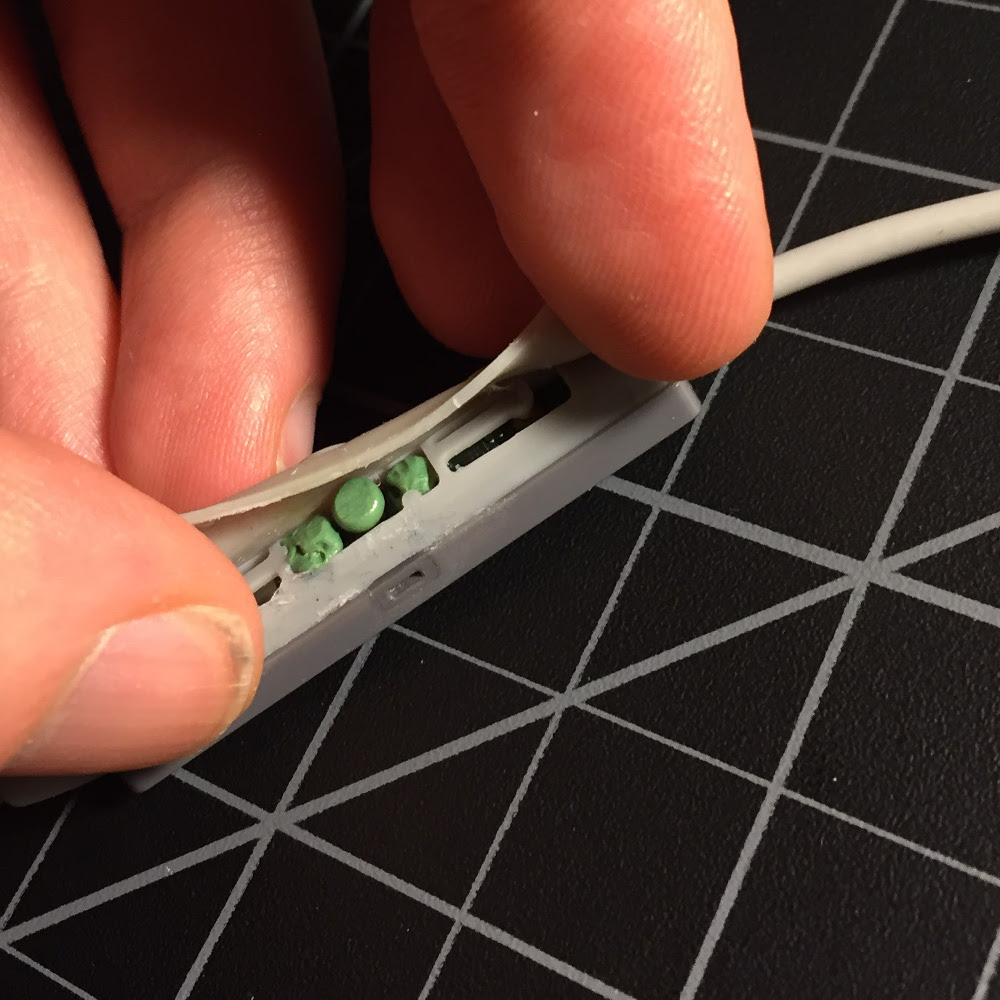
Once the pucks had hardened, I tried them all out, and found one which worked well in my test operations. I decided to tape the enclosure closed at first. That way I could keep easy access to adjust my repair if needed.

Luckily, no problems arose in several days of normal operation, so I glued the enclosure back together, and the repair is barely noticeable. So far it’s been about two months with the repaired device, and they work perfectly! Through a bit of ingenuity and use of the materials and skills garnered through years of miniature hobby work, I was able to repair a pair of $100 headphones rather than needing to replace them. Next time one of your electronic gadgets is broken, I encourage you to try the same before shelling out for a new one.
* * *
Sorry the blog has been so quiet lately, but I’ve been busy getting ready for Adepticon, which starts tomorrow. I’m really looking forward to seeing all the fantastic stuff in the case this year, as well as entering my own pieces. After I get back,
Leave a Reply