I painted this group several years ago, but it took me a long time to take any decent photos (and even longer to remember that I did and get around to posting them, it seems).
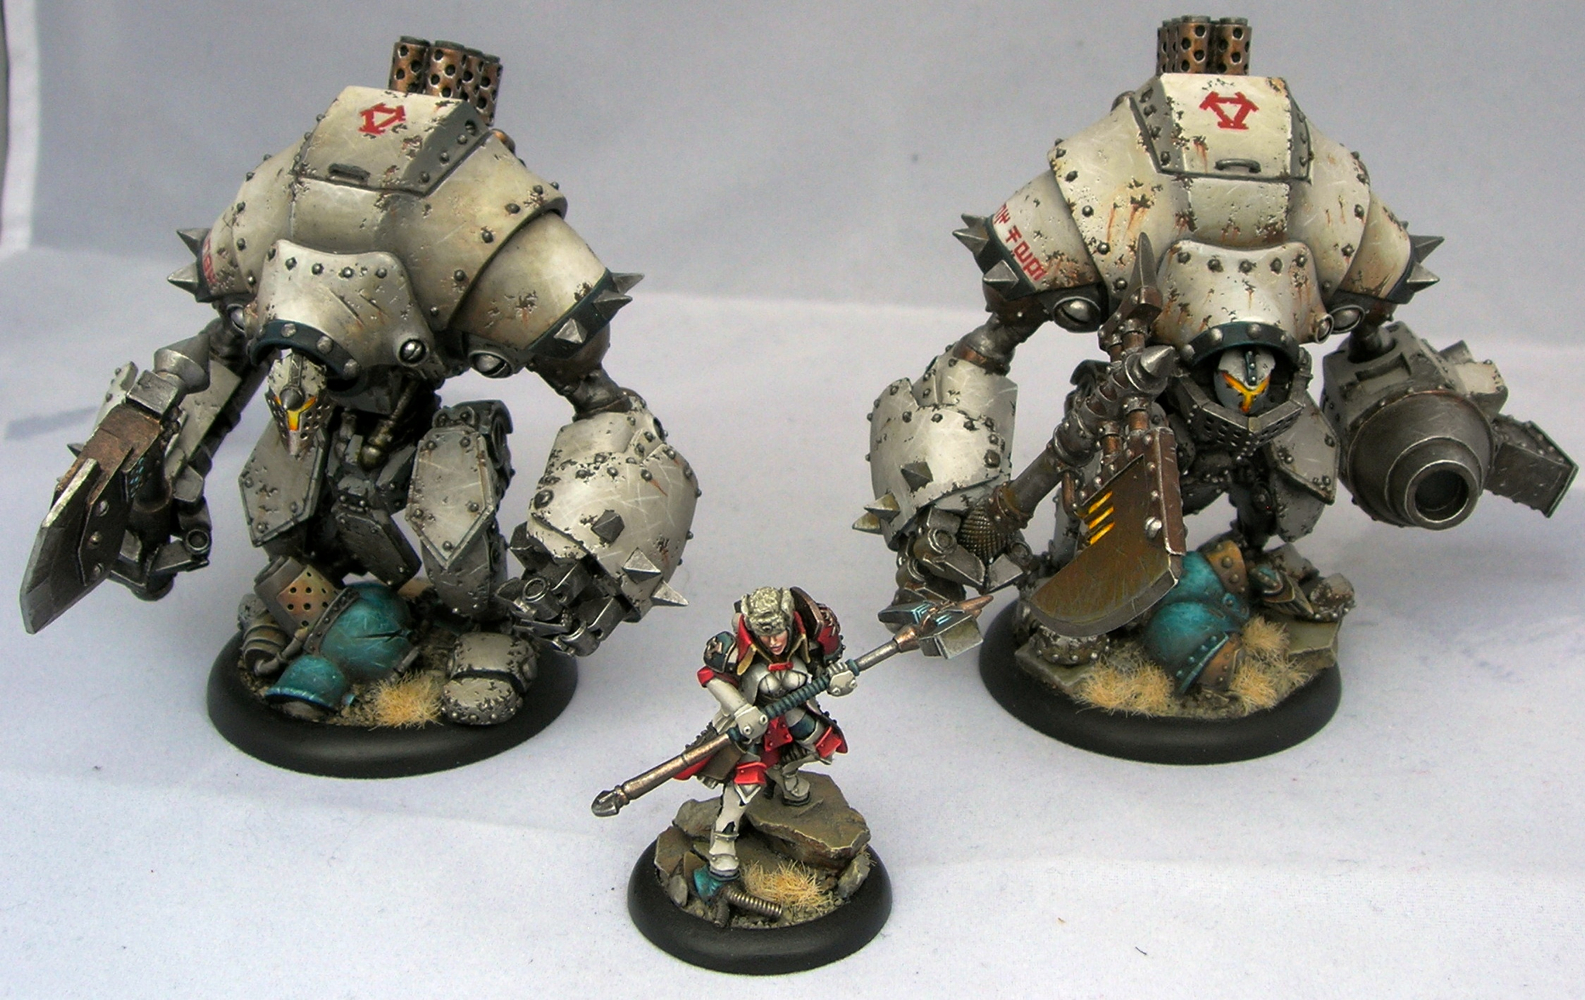
This group won the best battlegroup award in Privateer Press’s 2014 Gen Con Grandmaster Painting Competition, and appeared in No Quarter 57. Unfortunately the picture taken by Privateer Press at the convention wasn’t that great. You can see it in my battle damage tutorial, which goes over the technique I used to damage the ‘jacks.
Then again, since it took me over two years to finally take decent photos of my own, I probably shouldn’t be complaining about what Privateer Press could do in the middle of a busy convention. Subtle white shading is hard to photograph, and the metallic work is even harder to photograph.

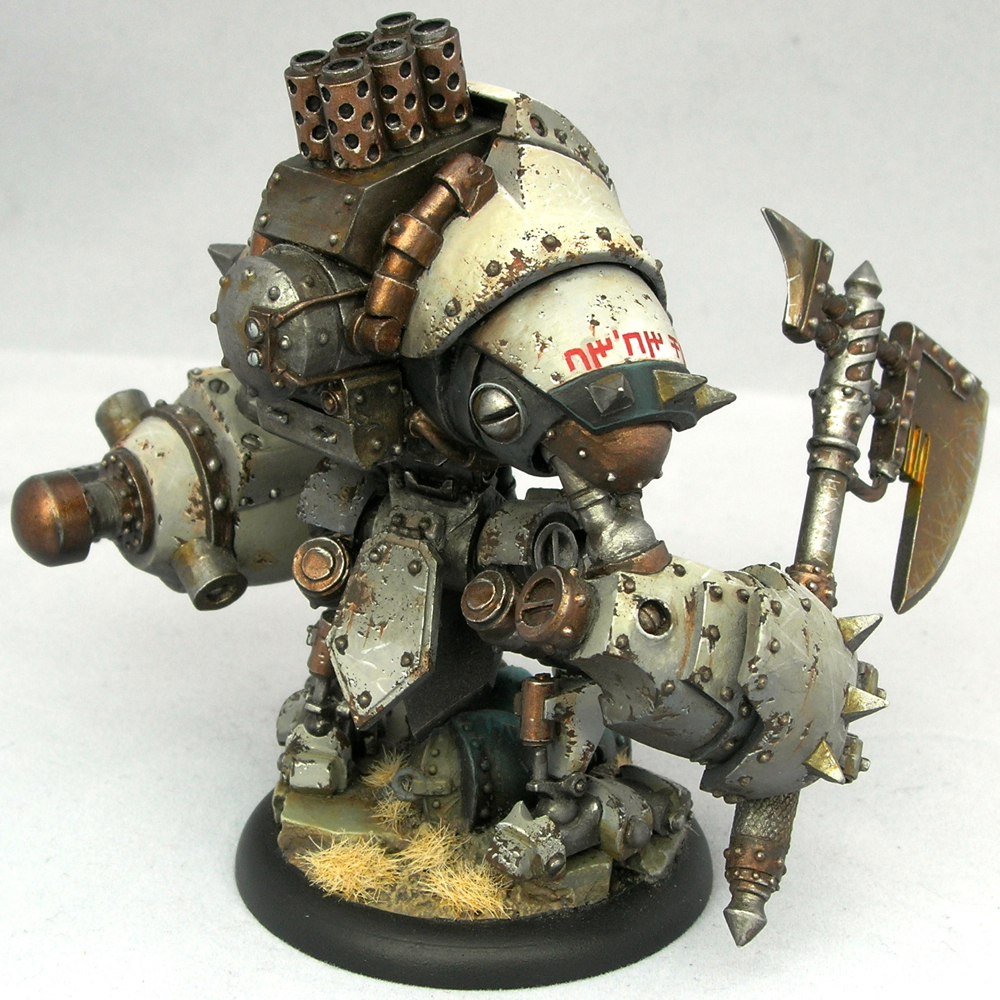
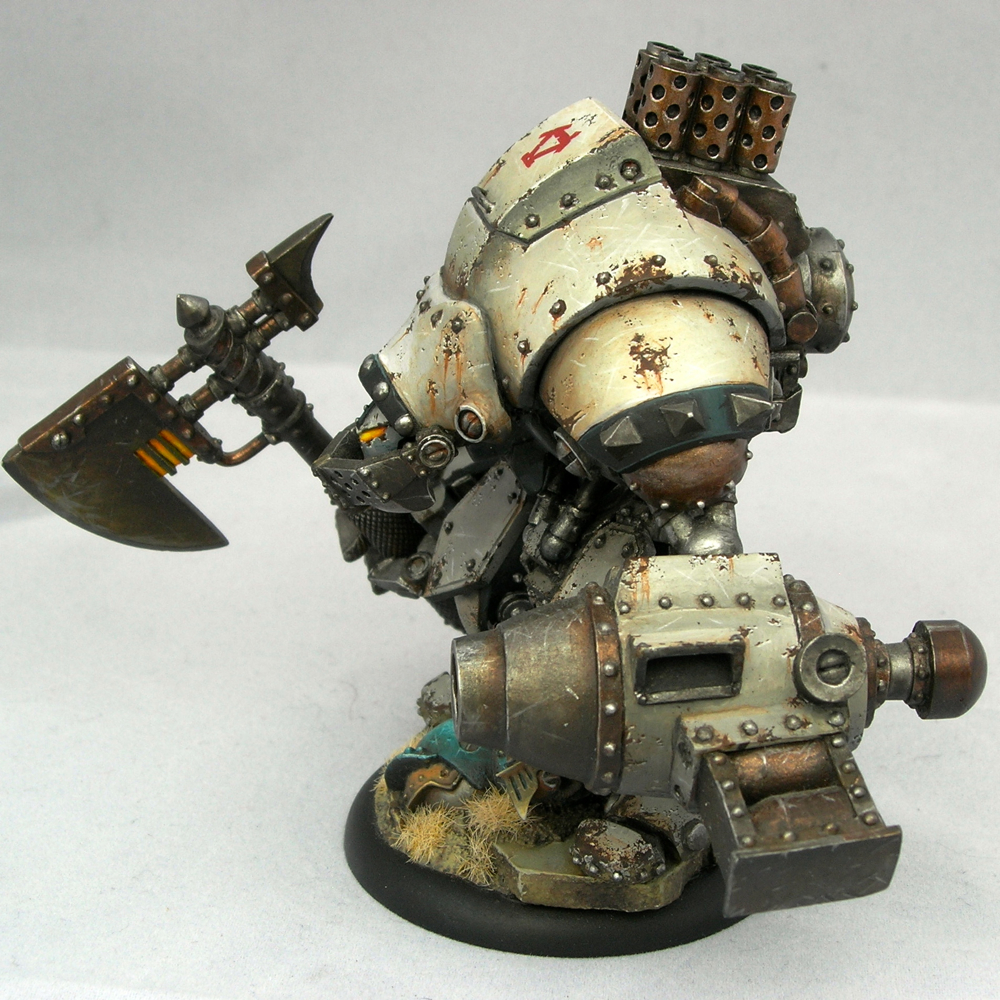
I’m really happy with how the metals turned out, especially the axe blades. Since the axes on the extreme ‘jacks are really big and flat, I knew I needed to do something to make them more interesting to look at. Painting them involved a lot of time-consuming back and forth between painting scratches and glazing over everything with inks, but the end result was worth the effort.
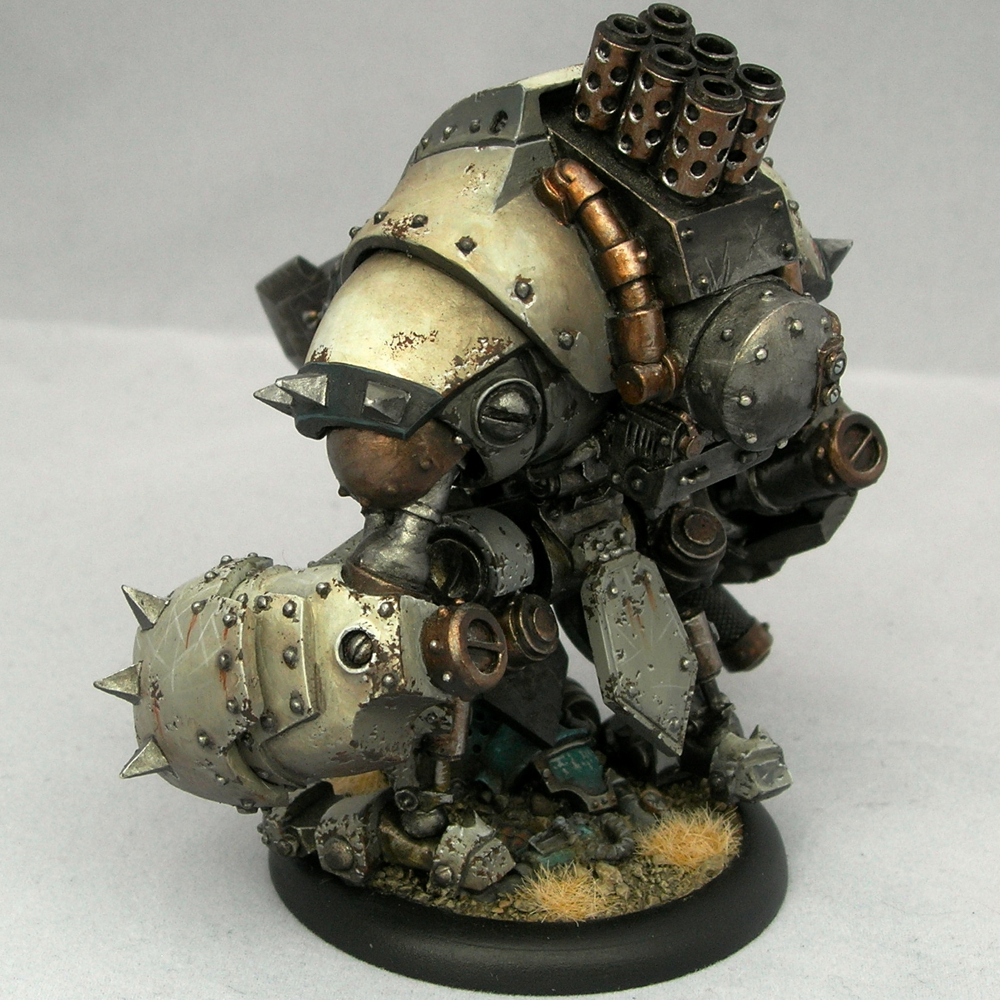
I had half of a hunter lying around from my Caine battlegroup, since I replaced it with a grenadier chassis, and a plastic Cygnar battlegroup box that Privateer Press gave away at Adepticon one year. I thought they would work well as battlefield rubble. Having a well-stocked bits box is a godsend for more ambitious projects.
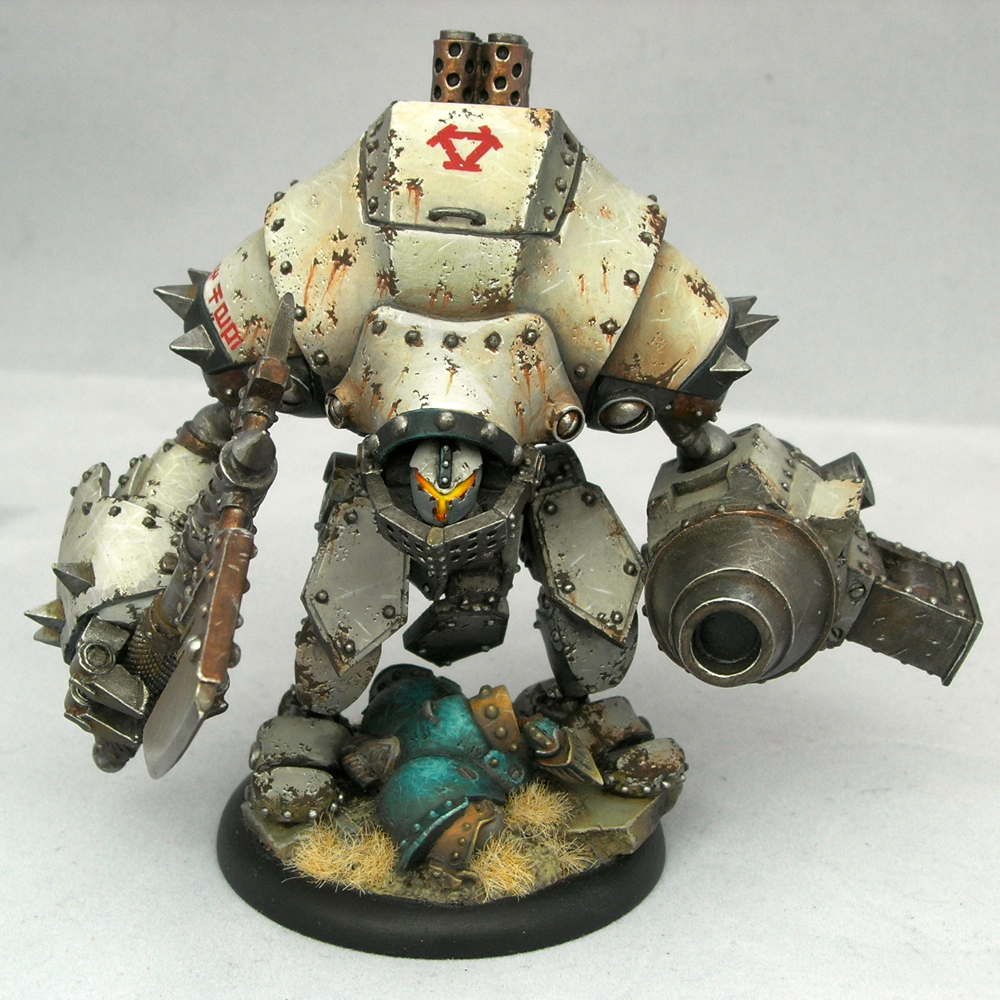
Even though the models in this battlegroup are all painted using metallics, I used nmm to paint the destroyed Cygnar models on their bases. I did this for a few different reasons. First, I thought it would be fitting for the destroyed Cygnar jacks to be less shiny than the Khador ones, which were already quite gritty and corroded. Second, I thought it was a nice callback to the Nemo I’d entered in a prior year. And finally, I wanted to show off that I can paint both metallics and nmm (since many painters seem to stick with one or the other).
This worked well with the extremely scratched effect I did for the turquoise parts, to make the Cygnar ‘jacks look extremely beat up and damaged, but in a completely different way from the Khador ‘jacks.
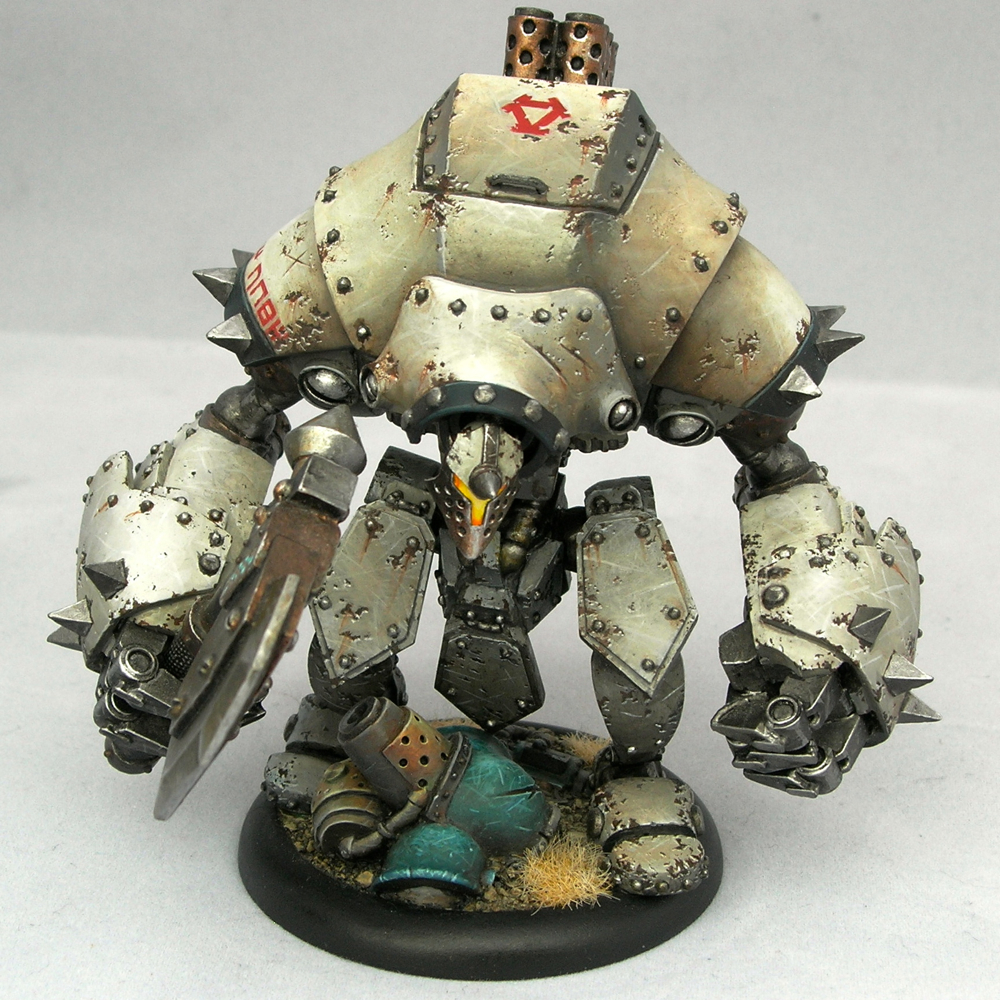
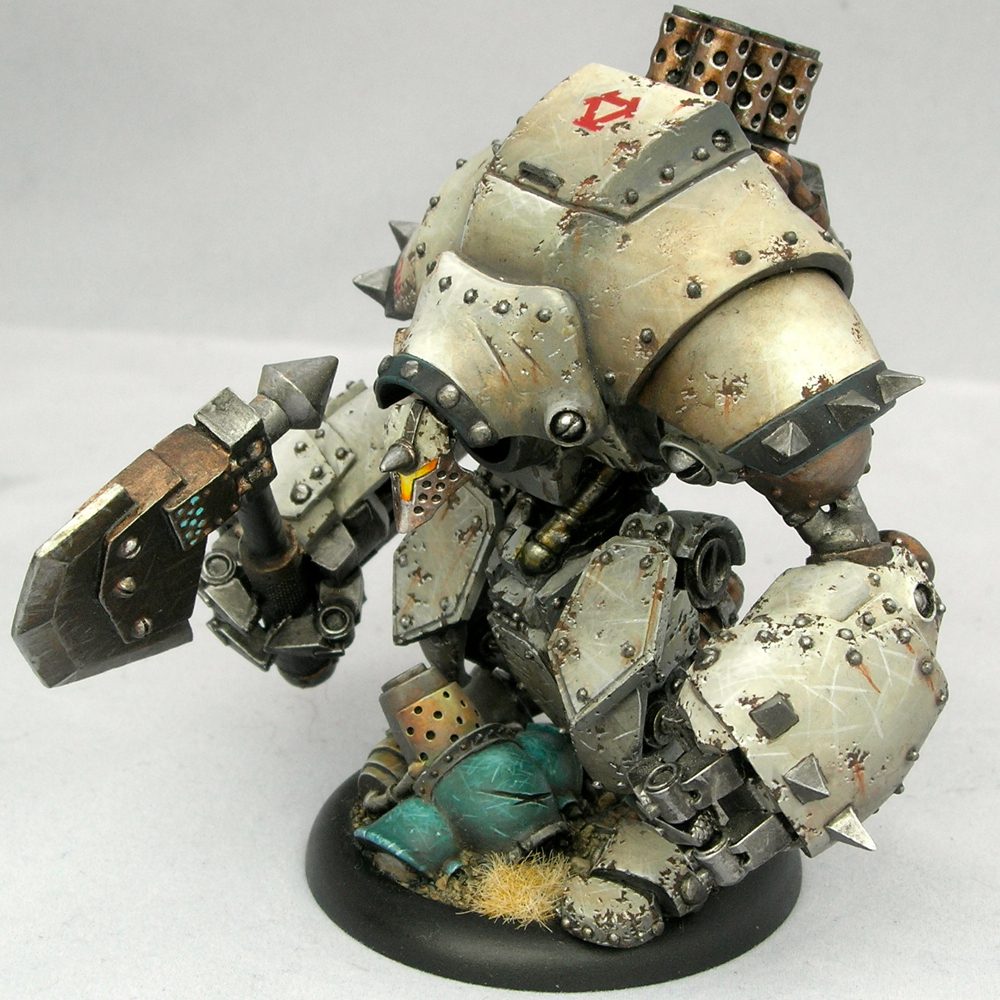
To get the bright glowing effect for the ‘jack visors, I first filled them almost entirely with green stuff, since normally there’s a big recess there. It’s very difficult to paint a believable glow effect in a deep recess, since you’re fighting against the shadow that the recess creates. Filling it first makes painting a glow much easier.

The rust drips are going “down” in different directions. I imagined that the rust would drip down and collect most with the ‘jack in its resting pose, and I tried to imagine what that would be when painting the drips.

The Khadoran runes on the ‘jacks’ shoulders read “Br’er Fox” and “Br’er Bear,” named after the main antagonists in the traditional Br’er Rabbit stories. The Cygnaran runes on the hunter’s shoulder pad say “Fire.” Warmachine faction fonts can be found here.
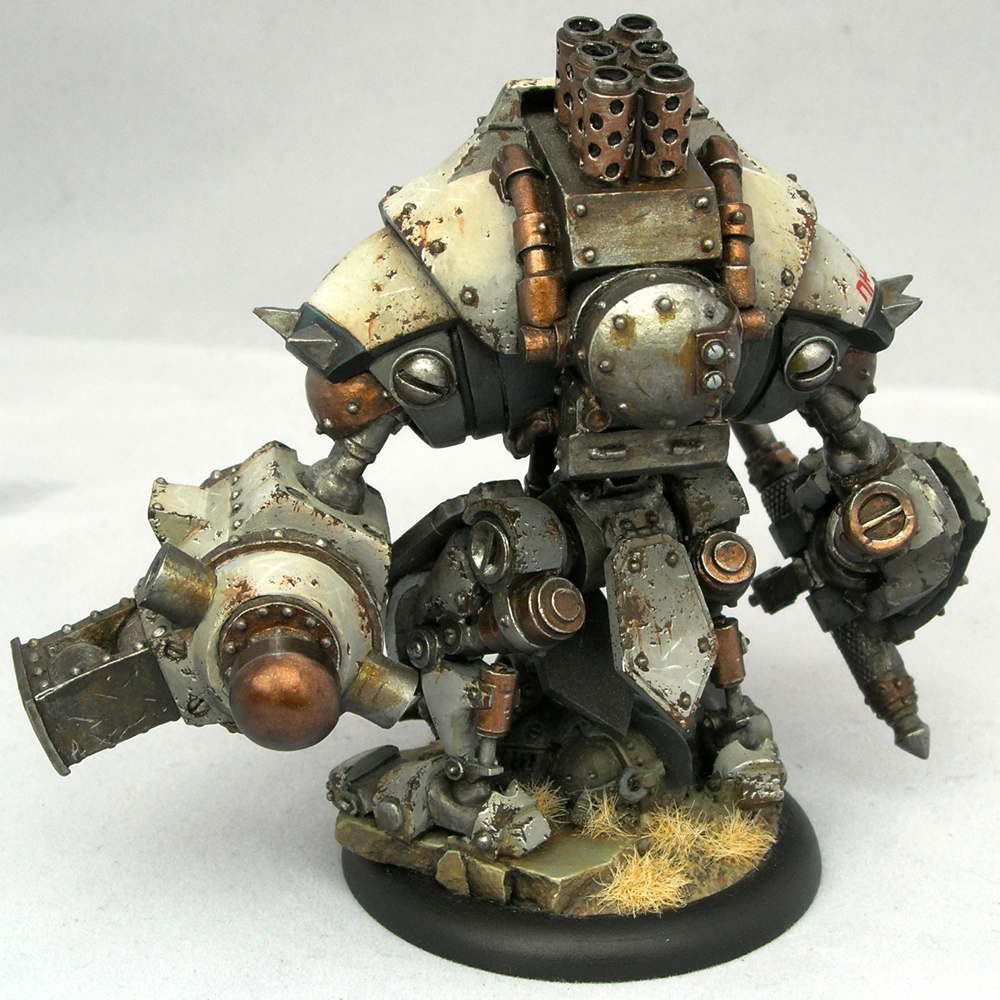
I painted the Juggernaut first, and I think it came out slightly better. Normally the models I paint later, once I’ve figured out my color scheme, turn out better, so this is unusual. But I think playing around with the whites a bit added an extra bit of texture and randomness that worked really well with the effect I was going for. It’s much easier to create randomness by accident than intentionally.
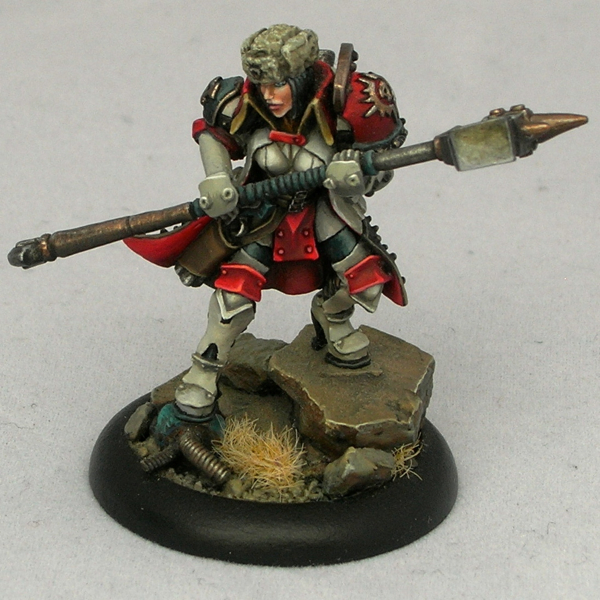
I painted Sorscha last, and she is much cleaner than the ‘jacks. I imagined the armor of a powerful and important warcaster would be carefully tended, unlike the warjacks.
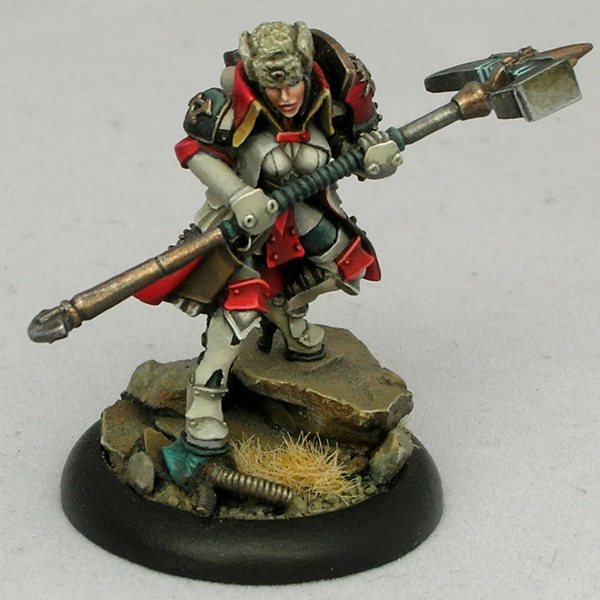
I left off the ice-formation base she comes with, since it wouldn’t match the other bases, and instead sculpted something to match, using the head that belongs to the hunter on the juggernaut’s base.
 I said in my previous post that I’m planning to teach a class on painting “tricky colors”—white, black, and red—at KublaCon and again at Gen Con. I think I can consider my street cred for teaching that class pretty well established.
I really love the creamy, weathered white you achieved! Any chance you’d share the basic colours (brand etc) of your recipe?
Thanks! It’s all P3 paints, except the metallics. The basic recipe is Cryx bane highlight mixed with Menoth white highlight, with Morrow white for the top highlights, and black added for the deepest shadows. I also added some other colors in parts to vary the appearance and simulate dirt. I don’t remember what colors I used, but I’d guess umbral umber and bloodstone. The damage is done as described in my battle damage tutorial, with black&bloodstone for the chips and bloodstone for the drips.
Awesome thanks for replying!
Was curious how you did the metals especially the blades
It’s mainly metallic paints and inks (P3 brown ink, P3 yellow ink), with some black paint thrown in. P3 brown ink is very red, so when mixed with yellow ink you get a nice rich orange brown color. Basecoat in a dark silver metallic (the old Games Workshop Boltgun Metal – oh how I miss that paint), then shade with a mixture of black paint and the two inks. More inks for a dirtier look, less for a cleaner look. I used both in different areas of the metal, and the axes were made to look especially dirty. I used two-brush blending to smooth the transitions. Then I highlighted with a bright silver paint, using a combination of blending (for a smooth look) and painting scratches (more in the highlight areas, like the top of the Destroyer’s cannon.
For most of the metals, that was it. For the axe blades, there were additional rounds of glazing the entire blade with a thin layer of brown+yellow ink, then highlighting again with silver in scratches, repeated 2 or 3 times. This leads to a more complex look where some scratches are on the surface, and some are under 1 or 2 layers of ink, which makes some of the scratches look newer and some older.